Configuring a Beaglebone Black as an Access Point
May 02, 2017A few weeks ago some friends and I competed in the Google Games, a sort of hybrid between a puzzlehunt and a coding competition. It was a fun event, and we managed to come in first! As a prize, each member of our team received a slick backpack and a Google Home, a smart speaker like the Amazon Echo, but designed and built by Google.
Unfortunately, the Google Home (and for that matter all Chromecasts) can’t operate on MIT’s WiFi network because they use Universal Plug and Play (UPnP), a protocol that MIT blocks.
One common workaround to this issue is to setup a personal access point wired into the MIT network that the Google Home can then connect to. I didn’t have an access point lying around, but I remembered that I did have a BeagleBone Black that I got from an IAP Internet of Things class a couple years ago. I decided to configure it to function as an access point.
I’m not much of a tinkerer, and the resulting process ended up being fairly involved. It wouldn’t have been feasible without the help of the many people who built custom drivers and documented the steps they took online. This post is my form of repayment; hopefully it will be useful for someone in the future.
Equipment
Part of the reason this was so complicated was that there were many versions and different models of the hardware involved, and different online guides relied on different components. Here’s the equipment I was working with:
- BeagleBone Black, Rev C, running Debian 3.8.13-bone68
- Ralink MT7601U USB Dongle
- Cables:
- MiniUSB to USB
- 5V DC Power Adapter
- Ethernet
First Steps
First connect the usb cable from the BeagleBone to a computer and install the necessary drivers. Once that is setup, the board should have established a network connection over USB and given itself the IP address 192.168.7.1. We can then ssh into it with:
ssh 192.168.7.1 -l root
MIT Network Registration
If we try to plug in our ethernet cable and then curl https://google.com we’ll find that we’re redirected to an MIT landing page asking us to register with the network. This is easy to do with a browser, but for other devices, we need to first register it with the MIT network. This form requires the device’s MAC address, which can be found by running the ifconfig command and looking for the HWaddr field for the eth0 interface.
Next, if we want to ssh into the BeagleBone remotely we need to give it a static IP address. This involves filling out another form and choosing a hostname.
Once this is done, we should be able to connect the power adapter, disconnect the USB cable, and then ssh into our board remotely with:
ssh [hostname].mit.edu -l root
Securing the board
Right now anyone who knows the device’s IP address or hostname (or anyone who’s scanning all of MIT’s IP addresses) can ssh into the device as root, since the default password is empty. We need to fix this so that some Chinese hacker doesn’t add our BeagleBoard to a botnet or something.
The default state of the Beaglebone includes two users: root and debian. Both of these have default passwords (empty and temppwd respectively) that should be changed with the passwd command.
Furthermore, it’s best to setup password-less ssh login. Once you’ve done that, you can now disable password-based ssh logins. Also consider setting PermitEmptyPasswords to no.
To be clear: on a public network like MIT, this step is absolutely necessary. There are in fact malicious actors all over the world who are scanning for IP addresses over port 22 and attempting to login with common username / password pairs. If you’ve set up a public-facing device you can even see all these attempts by running cat /var/log/auth.log. Here’s a (very small) selection of my log:
May  2 09:51:21 [hostname] sshd[3336]: Failed password for invalid user pi from 182.42.143.237 port 41776 ssh2
May  2 12:26:15 [hostname] sshd[6130]: Failed password for invalid user admin from 186.134.163.92 port 57968 ssh2
May  2 14:10:03 [hostname] sshd[18777]: Failed password for invalid user usuario from 181.20.243.89 port 38646 ssh2
May  2 18:04:22 [hostname] sshd[23208]: Failed password for root from 116.249.169.136 port 46370 ssh2
May  2 19:17:14 [hostname] sshd[22388]: Failed password for invalid user ubnt from 188.18.17.31 port 49490 ssh2
These IP’s correspond to China, Argentina, Argentina, China, and Russia respectively.
MT7601U Custom Driver
Right now the ifconfig command should list two interfaces: eth0 (ethernet) and lo (loopback, not important). (If you plug in the usb cable, you’ll see another interface usb0).
Now, plug in the WiFi USB dongle. Now, ifconfig should show another interface: ra0. This is called wlan0 on more modern devices. The command iwconfig should also show ra0 and will say Access Point: Not-Associated.
If it instead lists a MAC address, then your dongle is already configured to act as an Access Point, and you can skip to the next step.
The MT7601U chip supports Access Point mode as an experimental feature, and Mediatek doesn’t provide a driver. Luckily, people have written their own.
Clone that git repository and cd into MT7601u/:
git clone https://github.com/muratdemirtas/MT7601u.git
cd MT7601u/
Then open etc/RT2870AP/RT2870AP.dat with your favorite editor and change the SSID and WPAPSK fields to set the SSID (WiFi network name) and password for the network respectively.
Then:
cp -v /lib/modules/$(uname -r)/build/Module.symvers src/os/linux
sudo make clean && make all && make install
sudo rm -rvf src/os/linux/Module.symvers
Finally, we need to blacklist the pre-installed drivers for the MT7601u chip. Open /etc/modprobe.d/blacklist.conf and add the line blacklist mt7601u
Then, reboot the system (reboot) and re-run iwconfig. This time, you should see ra0 have an associated HWaddr.
Furthermore, if you check the available WiFi networks on any other device, you should see one with the SSID you specified:

DHCP
First edit /etc/network/interfaces and add the following lines to configure the ra0 interface:
auto ra0
iface ra0 inet static
    address 192.168.4.1
    netmask 255.255.255.0
Restart the networking service with:
/etc/init.d/networking restart
At this point, we should be able to connect to our WiFi network with a static IP in the 192.168.4.0/24 block. But, we can’t specify a static IP for our Google Home, so we’ll need to set up DHCP so that our access point can assign our Google Home an IP address dynamically.
We’ll do this with a service called dnsmasq:
sudo apt-get install dnsmasq
Edit the file /etc/dnsmasq.conf and add the lines:
interface=ra0
dhcp-range=ra0,192.168.4.2,192.168.4.10,4h
bind-interfaces
This tells the AP to assign addresses in the specified range. Also, if it exists, move the file /etc/dnsmasq.d/usb0-dhcp to your home directory:
mv /etc/dnsmasq.d/usb0-dhcp ~/
Warning: doing this will prevent you from talking to the device over usb, so if you mess up the ssh connection somehow (by losing internet or forgetting the password), you’ll have no way of talking to the device.
Unfortunately, I don’t know why this step is needed; all I know is that everything magically began working once I did this (and I wasn’t inclined to tinker with a working setup).
Finally, restart the dnsmasq service:
service dnsmasq restart
Packet forwarding
OK, almost done: all that’s left is to configure our firewall such that packets sent to the ra0 interface are forwarded to the eth0 interface, and any returning packets entering the eth0 interface are routed back through ra0. This involves adding a few rules to iptables, the default Linux firewall:
sudo iptables -F
sudo sh -c "echo 1 > /proc/sys/net/ipv4/ip_forward "
sudo iptables -t nat -A POSTROUTING -o eth0 -j MASQUERADE
sudo iptables -A FORWARD -i eth0 -o ra0 -m state --state RELATED,ESTABLISHED -j ACCEPT
sudo iptables -A FORWARD -i ra0 -o eth0 -j ACCEPT
sudo iptables -t nat -S
With this, you should be able to connect to the WiFi network over any device, enter the password, and then access the internet! If that works, then simply use the Google Home app to connect it to the network.
All Done
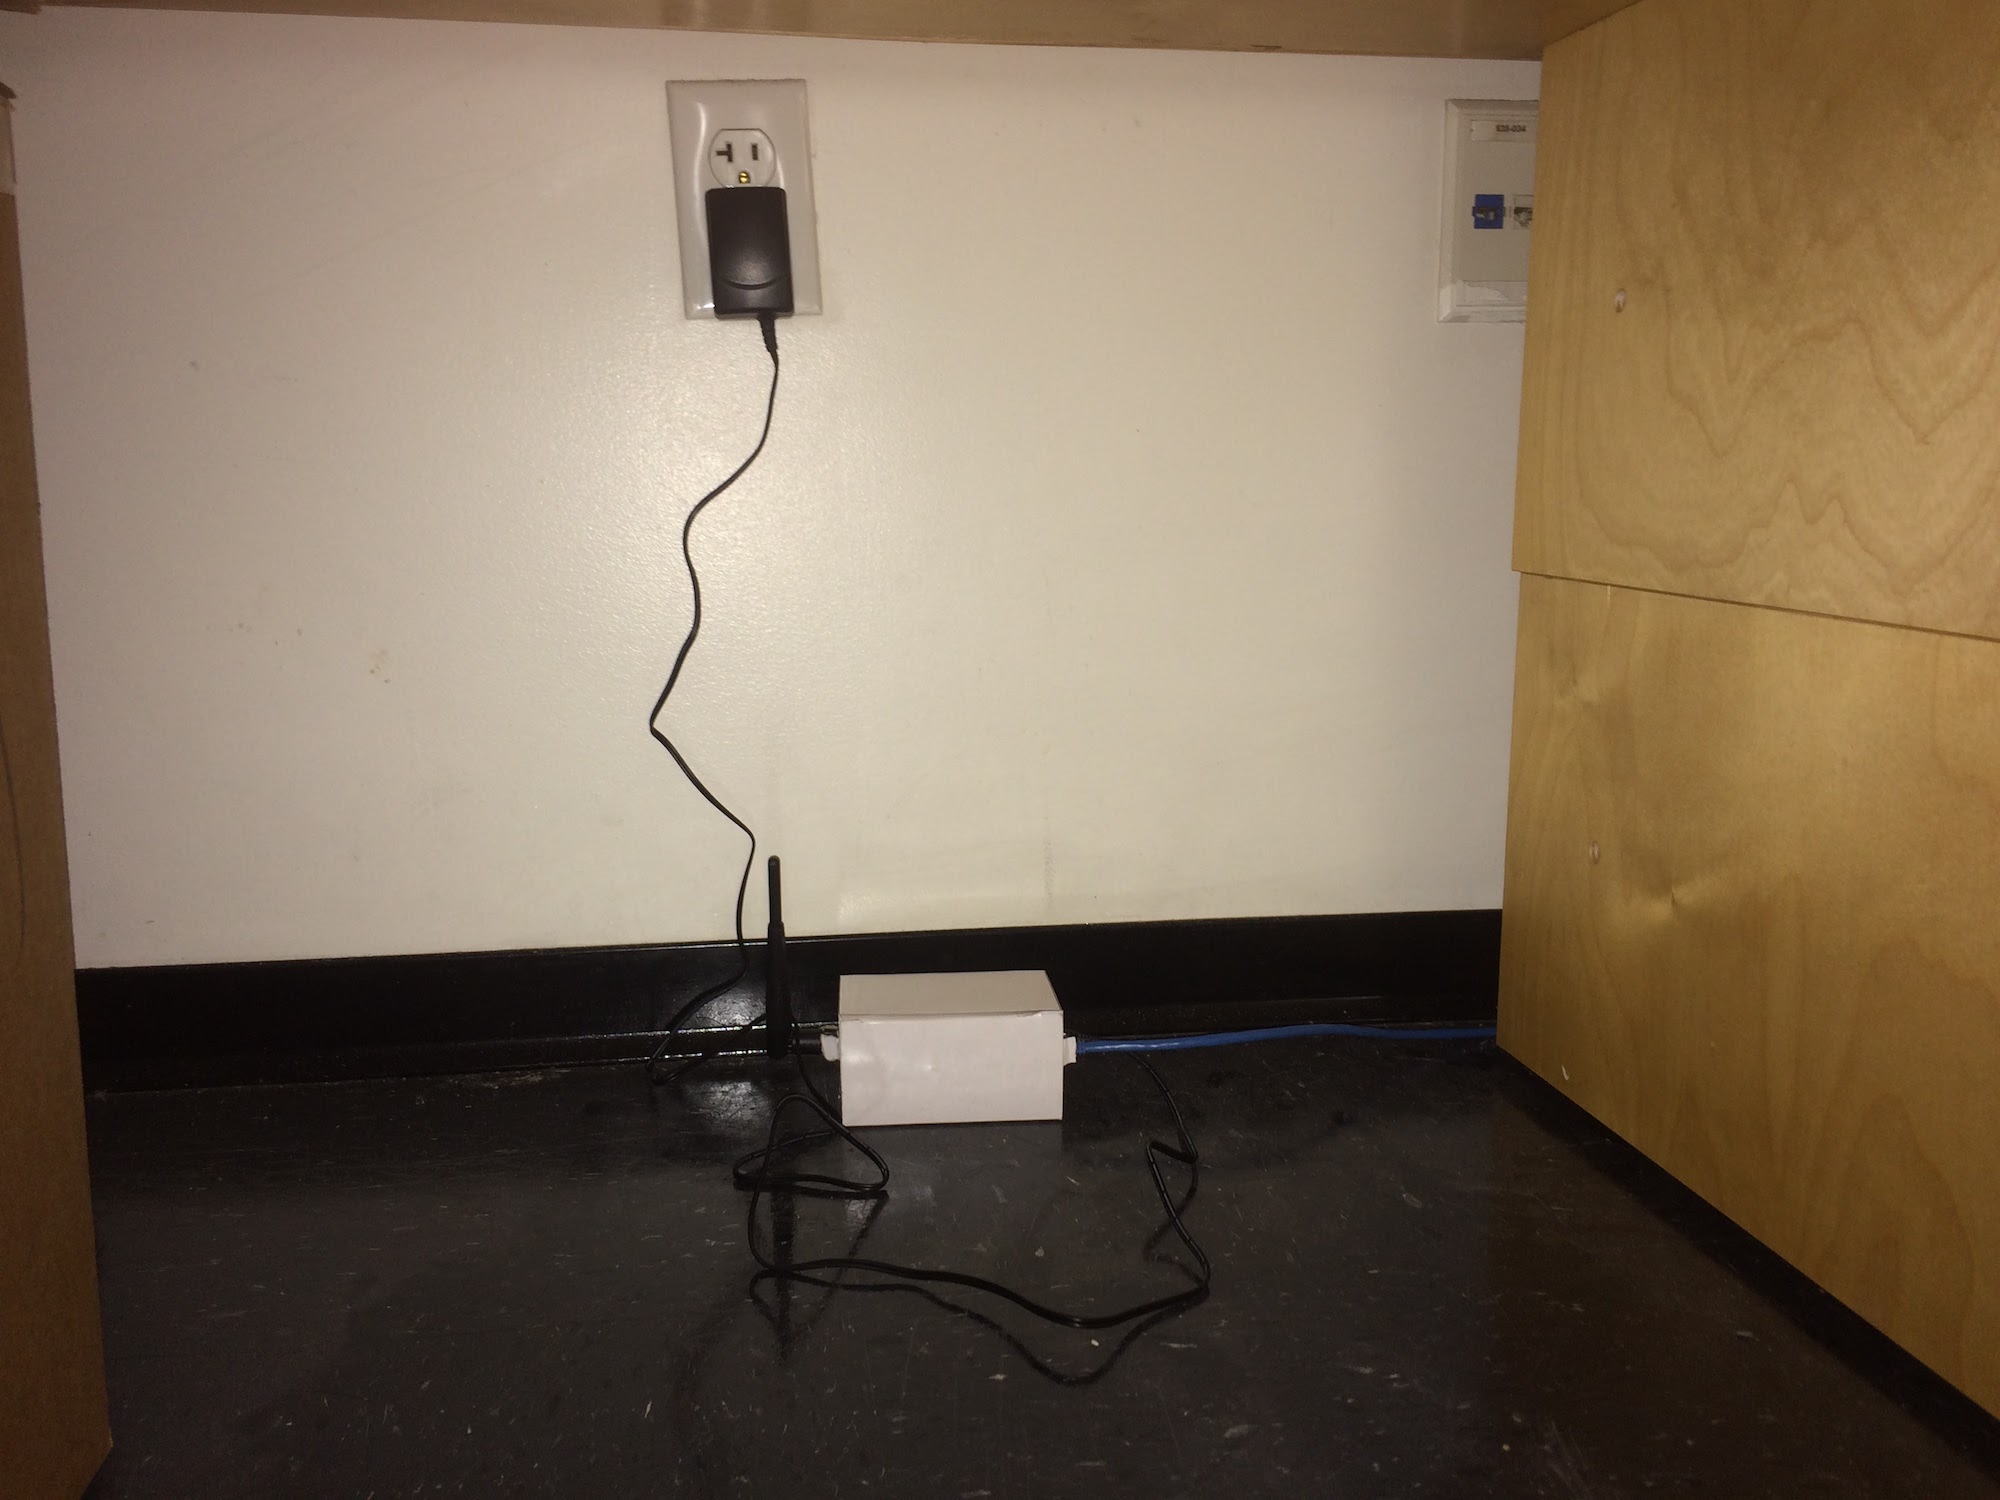
After everything your beaglebone should look something like this:
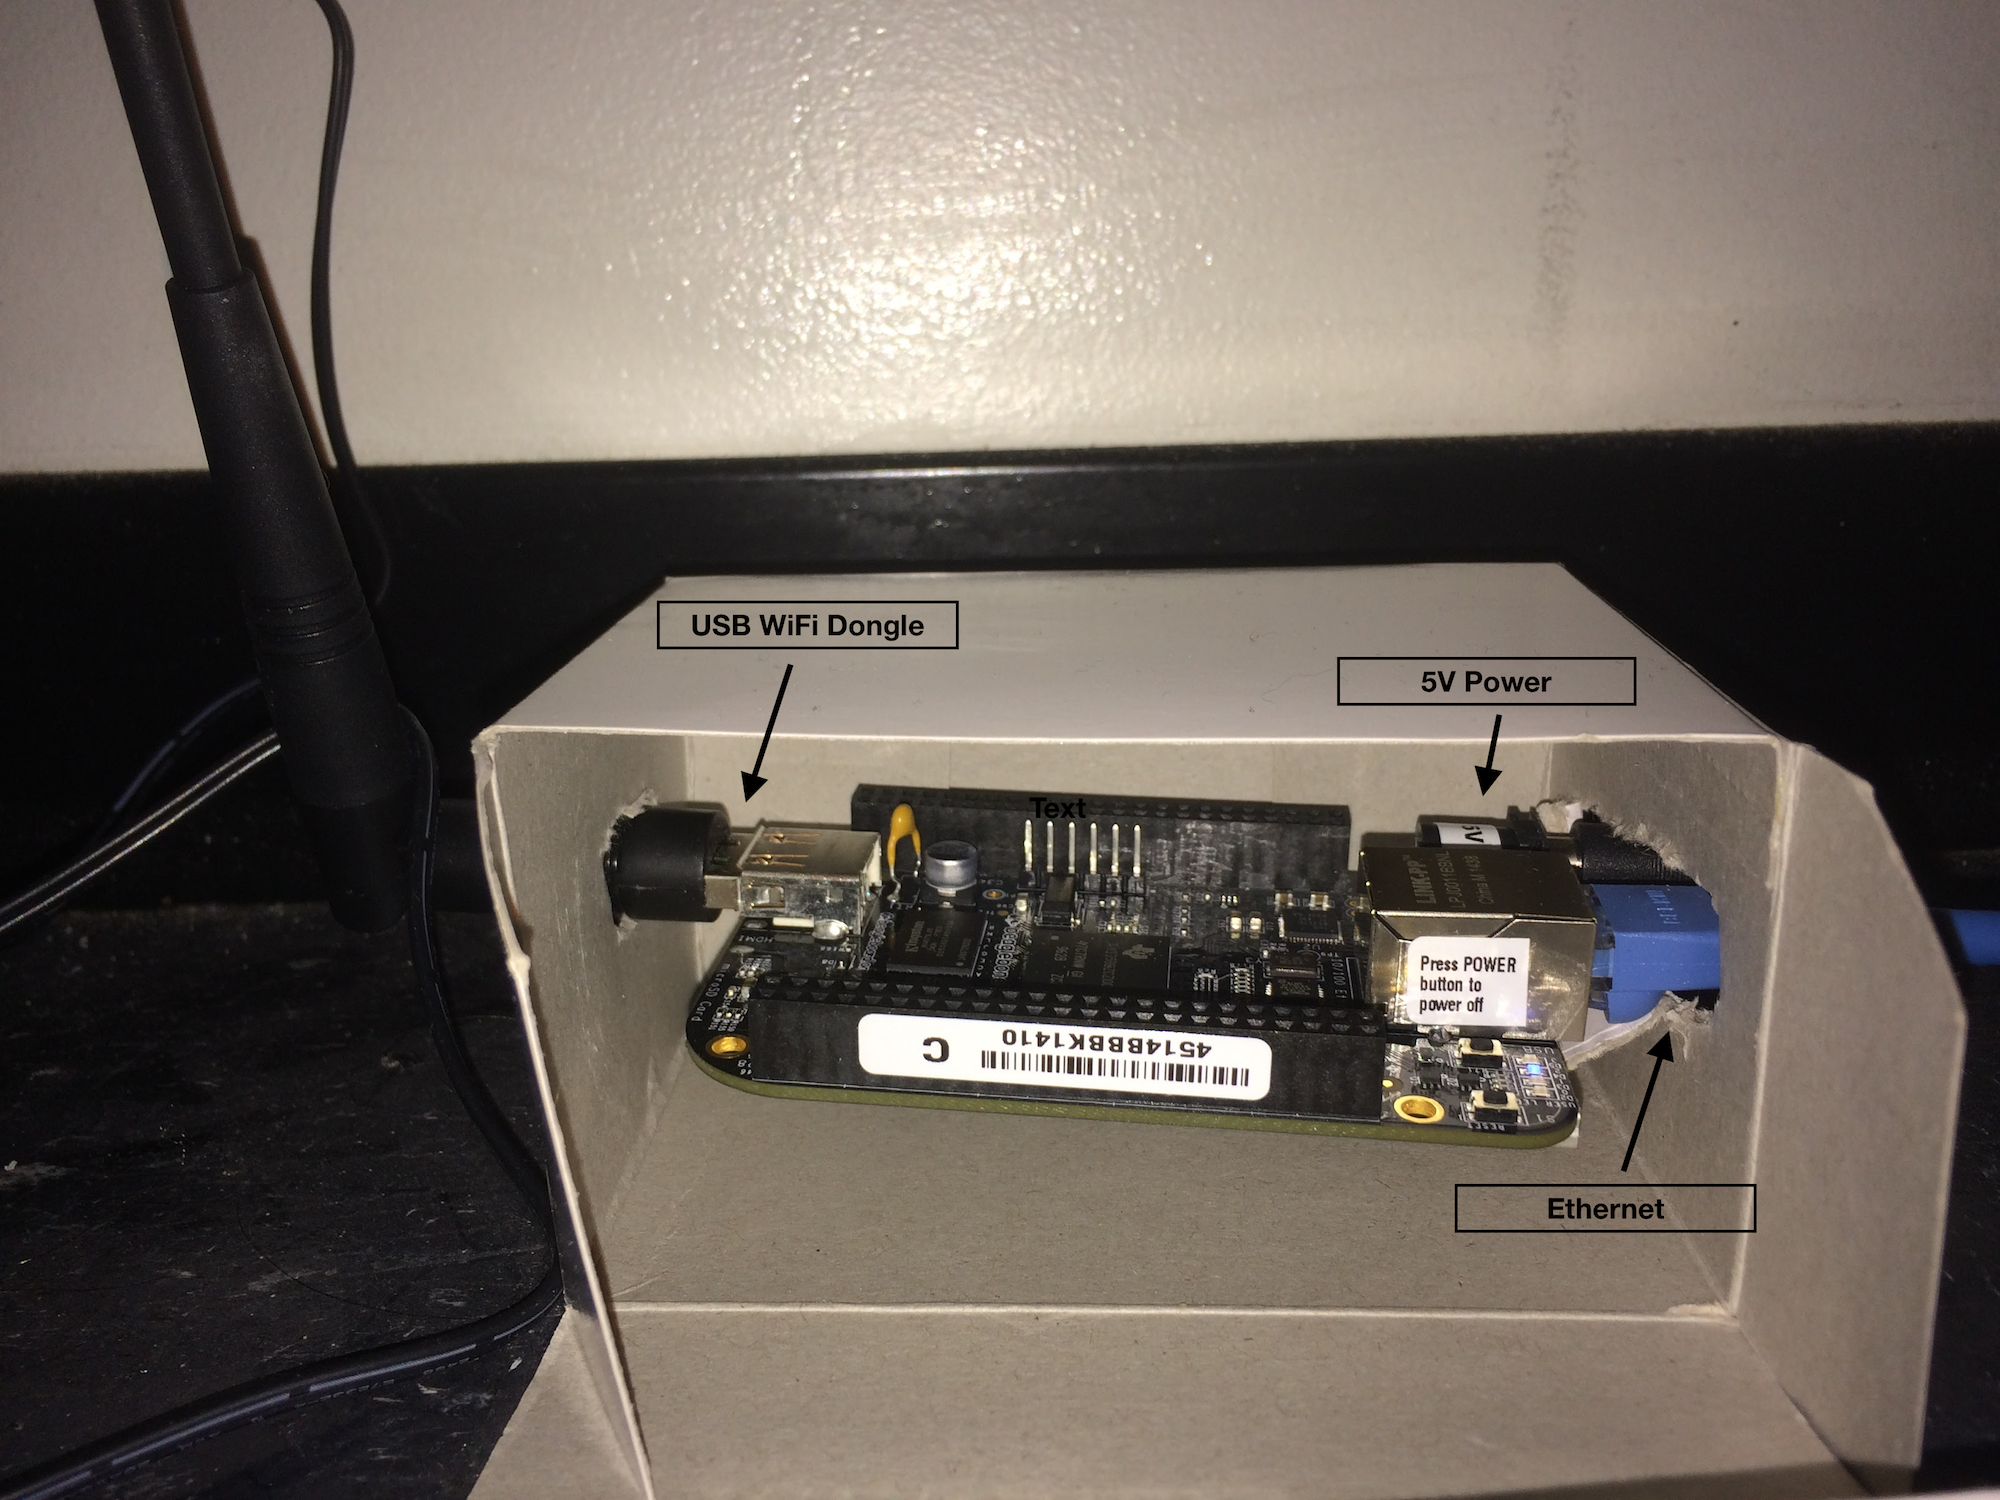
I cut some holes in an appropriately-sized box and stuck the beaglebone in it because the LEDs were too bright. Then I stuck it under my bed and vowed to not mess with it for as long as possible: